How to Design Monster Character with Adobe Illustrator
Previously, We have post about How to design koala
Now we will share about How to Design Monster Character with Adobe Illustrator
Equipment : Adobe Illustrator CS 5
Steps :


Launch up Adobe Illustrator, select the Rounded Rectangle Tool and draw a shape as shown. Use the cursor keys to adjust the roundness of the corners to give almost circular ends.
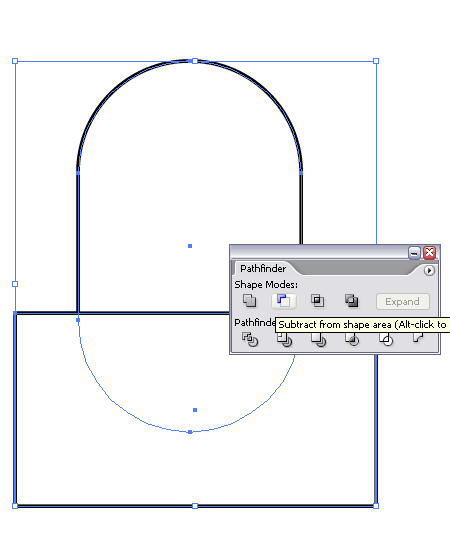
We don't need the bottom half, so create a rectangle to cover the area to chop off. Select both the shapes and use the Substract From Shape Area option from the Pathfinder Window and click Expand.

Use the Circle Tool to create an ellipse for use as the sucker part of the monster. Align these two shapes centrally.
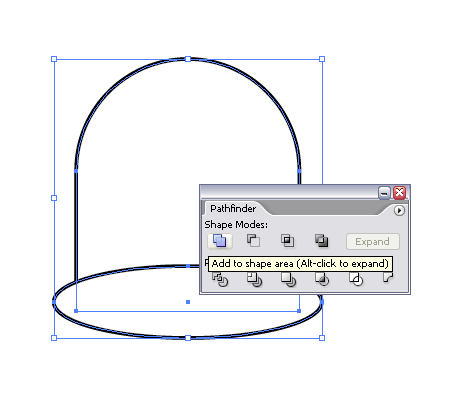
Use the Pathfinder Tool to Add To Shape Area, and Expand. This merges the objects together into a complete shape.
Continuing with the Circle Tool draw a large circle as an eye, copy and paste in front (CTRL + F) then scale down whilst holding shift and alt. Repeat this again and fill the final circle with black. Use the same process to create the second eye.
Remember this character is quite dumb so creating different sized eyes both wide open will express a brainless, vacant stare.

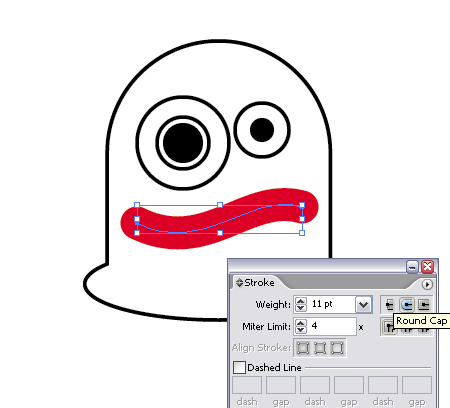
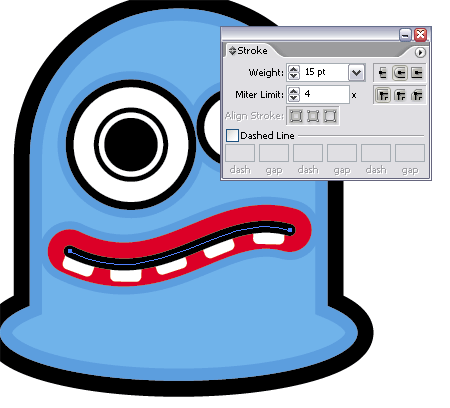
To further enhance his characteristics create a curved line for use as the mouth using either the Pen or Pencil tool; a wobbly shaped mouth expresses confusion which is perfect for this character. Add a thick red stroke to this line to simulate the lips, and add rounded edges by checking the Round Cap icon.
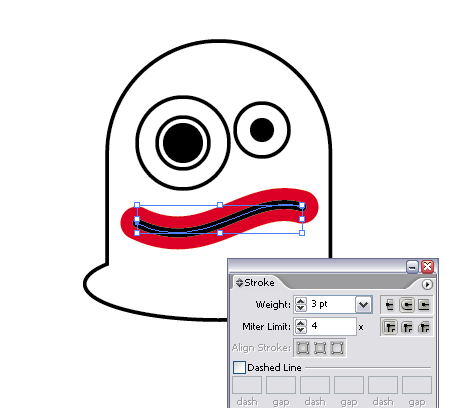
Copy and Paste this line but give a much thinner, black stroke to make the mouth opening.
Create small tabs with the rounded rectangle for use as the teeth. Make duplicates of these and position them equally across the mouth, rotating each one slightly to follow the curvature of the line.� Use CTRL/CMD + [ and CTRL/CMD + ] to alter the order of the objects to make the black stroke the front most object, hiding the top half of the teeth underneath it.

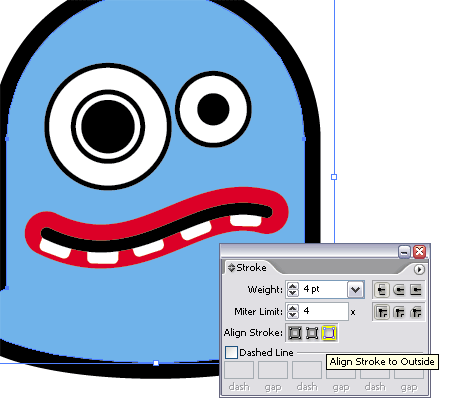
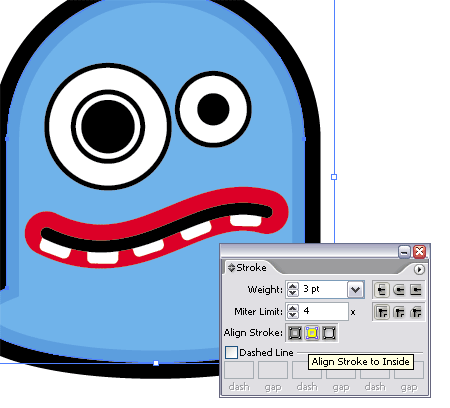
Bring in some colour by adding a blue fill to the body shape. Copy and Paste this shape, but exchange the fill and stroke to a dark blue stroke aligned to the inside of the object.
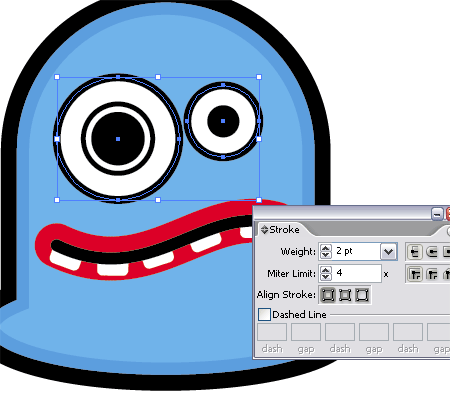
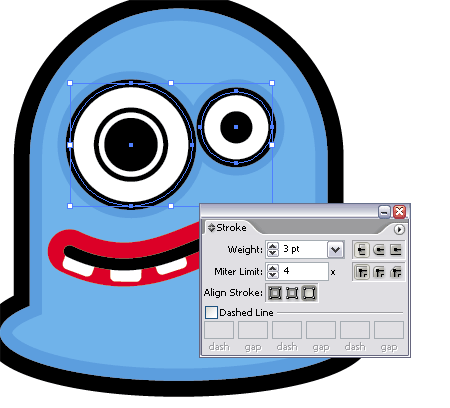
Thickening the strokes on the eyes gives more definition, enabling them to stand out.
Copy and Paste Behind (CTRL + B) the eyes and add a dark blue stroke to the outside of the circles.
Repeat this process with the red mouth line, paste behind and change the stroke to a thick blue outline.
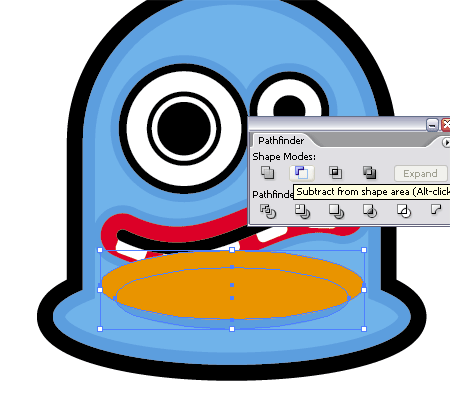
Give more definition to the sucker part of the monster by adding a subtle shadow. Draw a blue ellipse with the Circle Tool.

Create a slightly larger ellipse as a tool to remove an area of the underlying circle. Use the Substract From Shape Area tool and Expand to leave a thin crescent shape.
Finally add some small circular highlights in the monsters eyes to give a glazed appearance.


0 komentar on How to Design Monster Character with Adobe Illustrator :
Post a Comment and Don't Spam!